Introduction
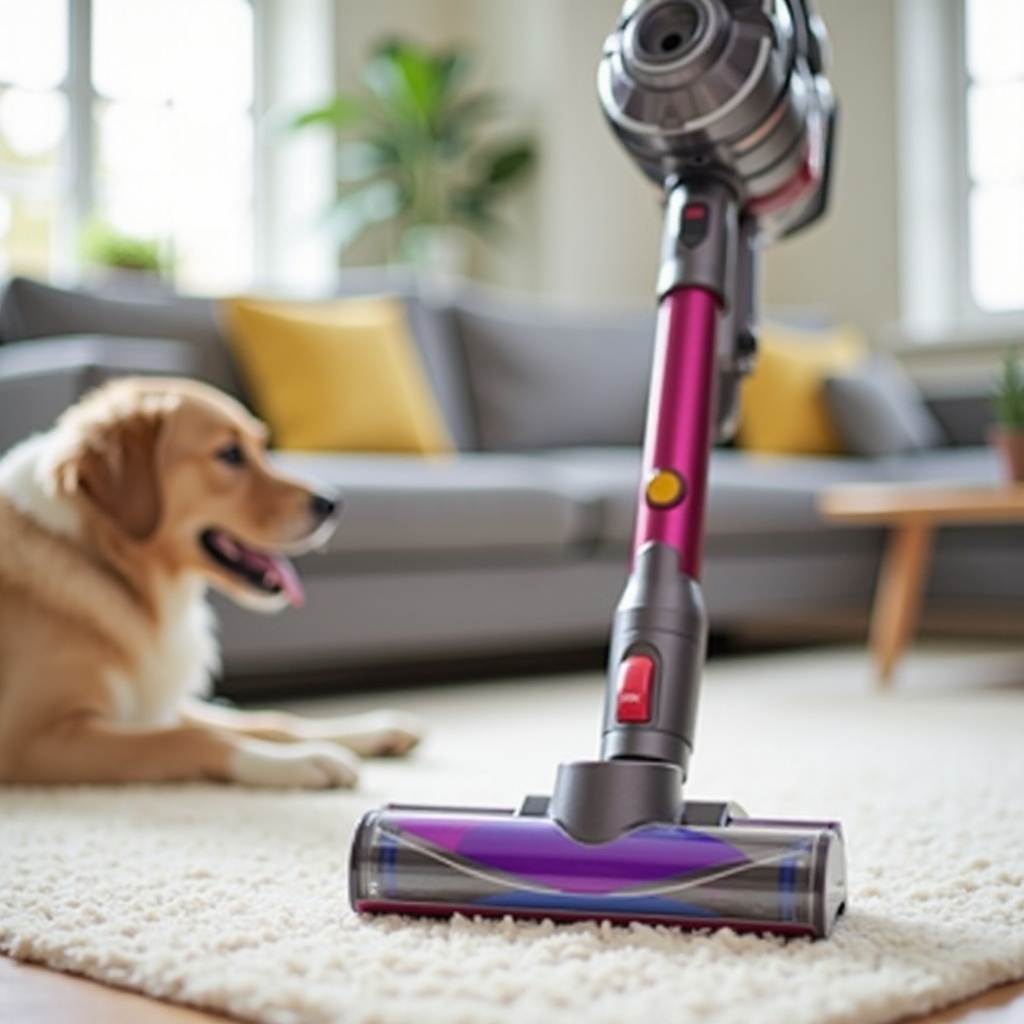
Dyson pet vacuums are designed to keep your home clean, even with furry friends around. However, regular maintenance is crucial to keep your vacuum performing at its best. Cleaning your Dyson pet vacuum is not just about maintaining suction power; it also helps extend the life of your appliance. In this guide, we will walk you through everything you need to know about cleaning your Dyson pet vacuum effectively.
The Importance of Cleaning Your Dyson Pet Vacuum
Keeping your Dyson pet vacuum clean is essential for several reasons. First, a clean vacuum performs better, effectively picking up dirt, pet hair, and allergens from your home. Regular maintenance helps avoid blockages that can reduce suction and hinder performance. This not only ensures a cleaner home but also helps maintain the health of your family by reducing allergens.
Moreover, frequent cleaning and maintenance of your Dyson pet vacuum can extend its lifespan. Replacing a vacuum can be costly, and proper care helps you avoid premature wear and tear. Finally, a clean vacuum is a more hygienic tool, preventing unpleasant odors and ensuring that you are not spreading dust and dirt back into your living space. Proper cleaning is a small effort that yields significant benefits for both your vacuum and your home.
Preparing Your Dyson Pet Vacuum for Cleaning
Before you start the cleaning process, it’s essential to prepare your Dyson pet vacuum. Begin by turning off and unplugging the vacuum. This is a crucial safety step to avoid any electrical hazards. Remove any attachments and place the vacuum on a clean, flat surface.
Have your cleaning supplies ready. You will need a soft brush, a clean, dry cloth, mild detergent, and some warm water. Make sure to consult your vacuum’s user manual for specific instructions and guidance. Taking these preparatory steps ensures a smooth and safe cleaning process.
Step-by-Step Guide to Cleaning the Canister and Filters
Emptying the Canister
- First, detach the canister from the vacuum.
- Hold the canister over a trash bin and press the release button to empty the contents.
Washing and Drying the Filters
- Remove the filters from the vacuum.
- Rinse the filters under cold water until the water runs clear.
- Gently squeeze out any excess water.
- Let the filters dry completely for at least 24 hours.
Reassembling the Canister and Filters
- Once the filters are dry, place them back into their respective slots.
- Reattach the canister to the vacuum.
- Ensure all parts are securely in place before using the vacuum again.
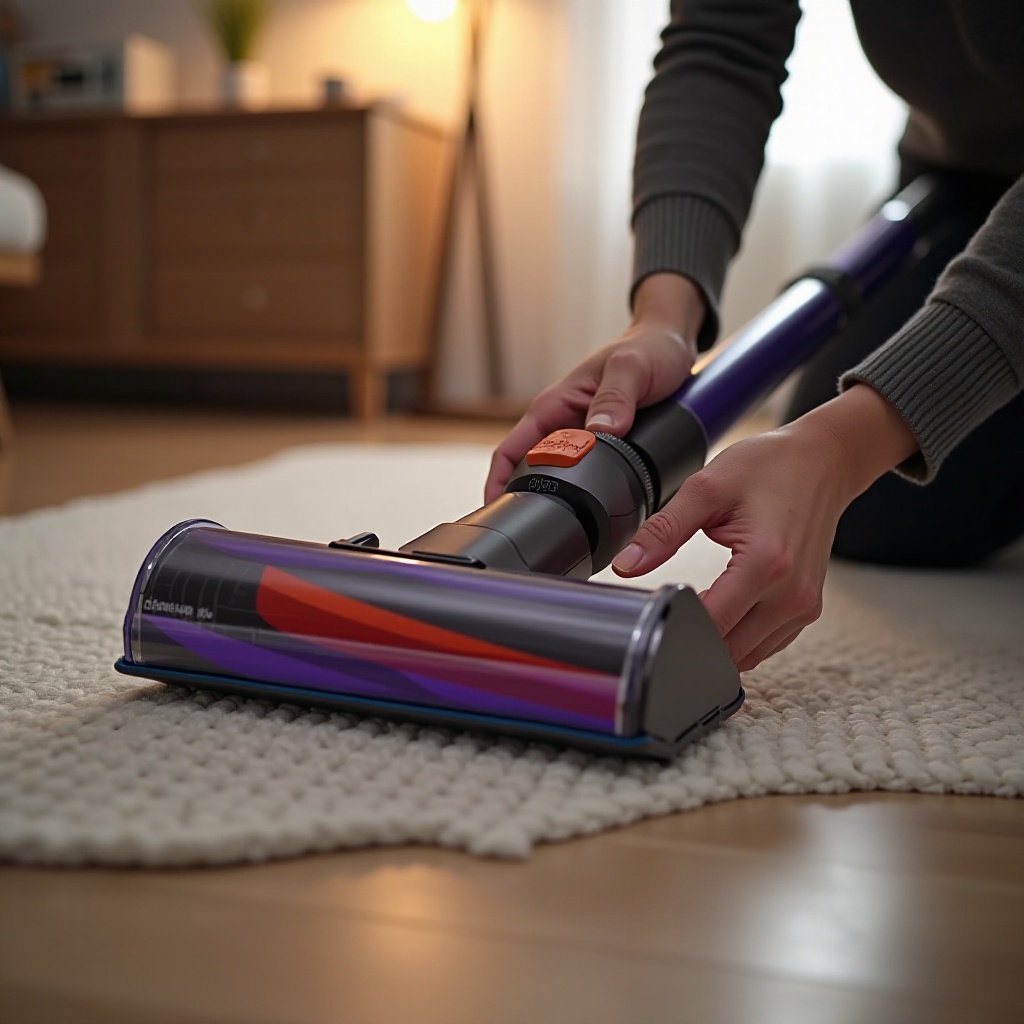
Detailed Cleaning of the Brush Bar and Housing
Once the canister and filters are clean, it’s time to focus on the brush bar and housing. These components often accumulate hair and debris that can impede your vacuum’s performance.
Removing and Cleaning the Brush Bar
- Turn the vacuum over and locate the brush bar.
- Use a coin or a small screwdriver to release the brush bar.
- Remove any hair, thread, or debris wrapped around the brush bar with scissors or a brush.
- Wipe the brush bar and housing with a damp cloth.
Reassembling the Brush Bar
- Place the cleaned brush bar back into its original position.
- Secure it by turning the locking mechanism back into place.
- Ensure the brush bar spins freely before using the vacuum.
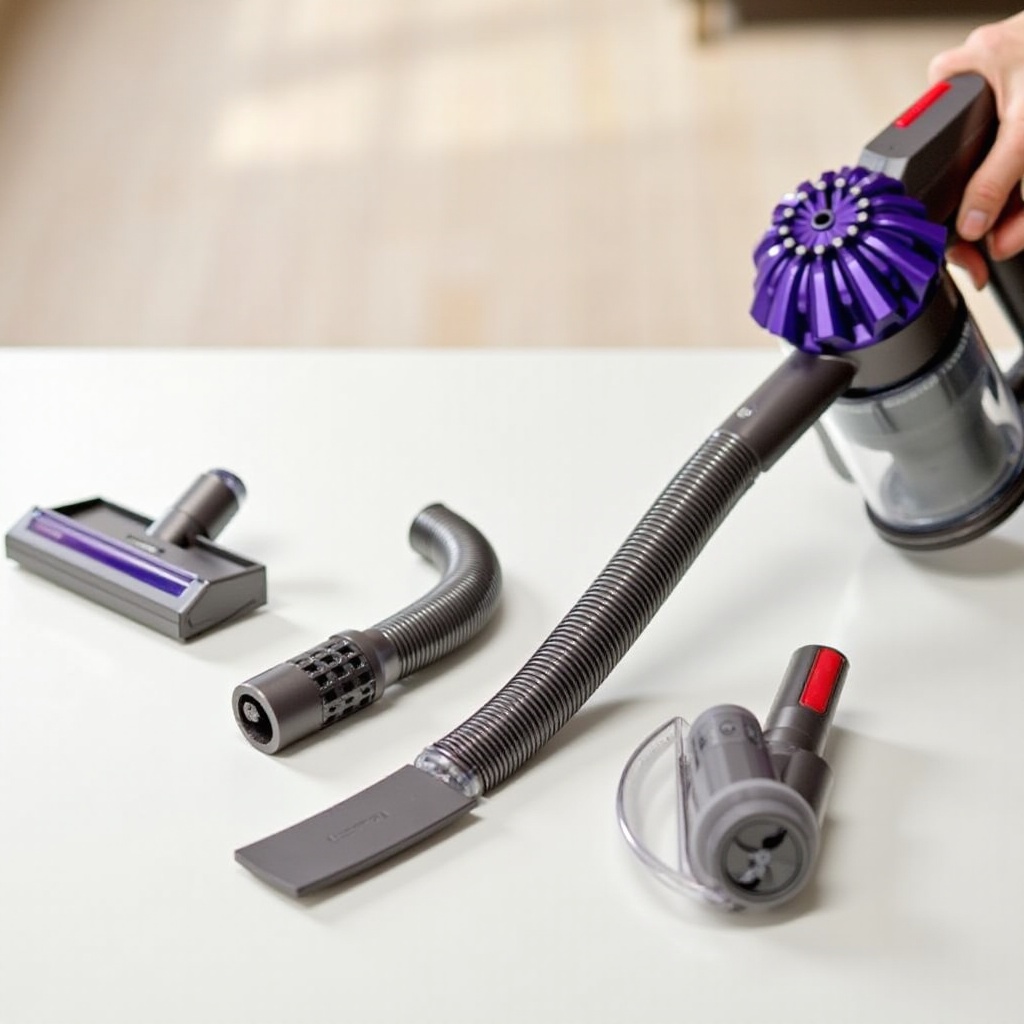
Cleaning the Hoses and Attachments
Keeping the hoses and attachments clean is also crucial for maintaining optimal performance. Here are the steps to follow:
Checking for and Removing Blockages
- Detach the hose from the vacuum.
- Check inside the hose for any blockages and remove them using a long, flexible brush.
- Rinse the hose with warm water if necessary and let it dry completely.
Cleaning Additional Tools
- Remove all attachments from the vacuum.
- Wash washable attachments with mild detergent and warm water.
- Let them dry completely before reattaching.
Dealing with Stubborn Pet Hair
- For stubborn pet hair on attachments, use a pet hair remover or a stiff brush.
- Ensure all hair is removed before cleaning.
Final Checks and General Maintenance Tips
After reassembling your Dyson pet vacuum, perform a final check. Ensure that all parts are reattached correctly and securely. Run the vacuum for a few seconds to confirm it is working correctly. Here are some general maintenance tips to keep your vacuum in top shape:
- Clean the vacuum regularly, ideally after every few uses.
- Store the vacuum in a cool, dry place.
- Replace filters every six months for optimal performance.
- Check for blockages regularly to avoid suction loss.
Conclusion
Regular cleaning and maintenance of your Dyson pet vacuum are essential for its performance and longevity. By following this complete guide, you can ensure your vacuum remains efficient, hygienic, and effective. A well-maintained vacuum not only keeps your home cleaner but also helps maintain a healthy environment for you and your family.
Frequently Asked Questions
How often should I clean my Dyson pet vacuum?
You should clean your Dyson pet vacuum after every few uses to maintain optimal performance, especially if you have pets that shed frequently.
Can I wash the filters in my Dyson pet vacuum?
Yes, you can wash the filters in your Dyson pet vacuum. Rinse them under cold water until clear, then let them dry completely for at least 24 hours before reattaching.
What should I do if my Dyson pet vacuum loses suction?
If your Dyson pet vacuum loses suction, check for and remove any blockages, clean the filters, and ensure the canister is empty. Regular maintenance prevents suction loss and maintains performance.